Download & Install BrandOffice (BQIgnite Africa) | Admin rights Required
How to download and install BrandOffice (BQIgnite Africa)
These instructions are for users hosted in Azure SA North instance and for manual installations.
The below steps will guide you on how to download and set-up BrandOffice. Please note that you will need admin rights to run the application on your workstation.
Step 1: Download the installation file
Download the installation file from the link provided to you. Close down all Office applications and run the installation file by following the prompts.
Step 2A: Access BRANDOFFICE tab
Open Word, Excel or PPT (any of them) and find the new BRANDOFFICE tab which will now be visible in the ribbon:
Note: The buttons remain greyed out until the settings have been completed.

Note: if the Microsoft pop-up comes up prior to changing your settings, please dismiss it.
Step 2B: Click on Settings
Platform instance: Please select BQIgnite Africa from the drop down and click OK.
Step 2C: Click on Synchronize Data
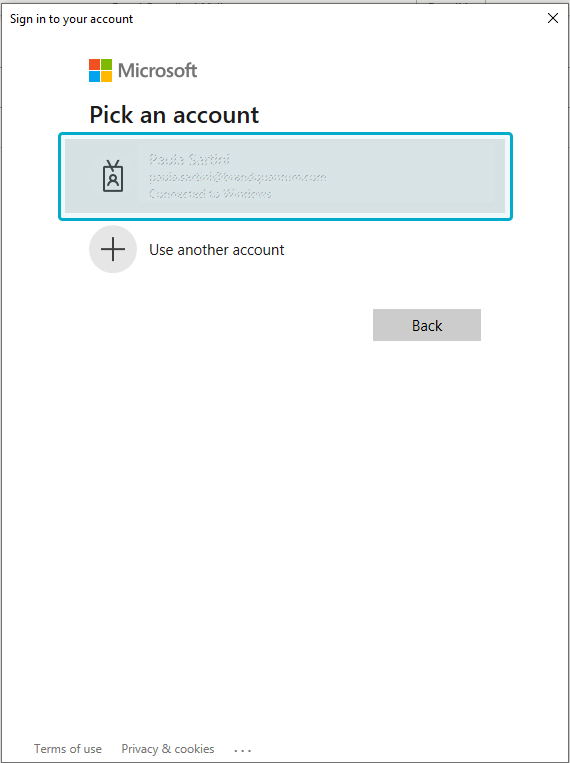
The Microsoft pop-up will appear for authentication. Please click on your email address.
Step 3: Access Your toolbar content

NOTE: Windows Authentication is automatically ticked in the installation file. If you are NOT using Windows authentication, please UNTICK the Windows Authentication checkbox in order to be able to complete the username and password provided to you by your administrator. This option is normally for users NOT running Microsoft 365 (older versions of Office and non-Microsoft 365 environments).
- Complete your username (your email address)
- Password: the password provided to you
- Click Test Connection
- Once your connection has tested successfully, click OK.
- Click Synchronize Data
Note: Should you wish to use any other language other than English on the BrandOffice ribbon, you can do so by enabling the Multilanguage feature. See How to enable Multilanguage settings
Step 2D: Click Synchronize Data
Once the sync has completed your new signature will appear.
Step 3: Access Your toolbar content
Note: Should you wish to use any other language other than English on the BrandMail ribbon, you can do so by enabling the Multilanguage feature. See How to enable Multilanguage settings
Should you need any further assistance setting up your BrandOffice please send an email to support@brandquantum.com
Related Articles
Download and install BrandOffice (admin rights required)
How to download and install BrandOffice (for non-centralised installations) The below steps will guide you on how to download and set-up BrandOffice. Please note that you will need Admin rights to run the application on your workstation. If you ...BrandOffice Failed Login when switching to Windows Authentication
BrandOffice Failed Login when switching to Windows Authentication / Azure Active Directory If your organization has recently moved from a username and password authentication to using Azure Active Directory / Windows Authentication, you will receive ...Synchronizing BrandOffice when using Windows Authentication
How to synchronize BrandOffice when using Windows Authentication If you are in an enterprise environment it is likely that you are set up to authenticate using your Microsoft 365 credentials. Once BrandOffice has been installed you should see the ...Deleting the BrandOffice database
How to delete the BrandOffice database If a corruption develops in your BrandOffice database it may be necessary to delete the database and do a fresh sync. Deleting the database is like a "hard reset" which allows the workstation to then do a fresh ...Manually synchronize BrandOffice toolbar
How to manually synchronize your BrandOffice toolbar Your BrandOffice toolbar will automatically synchronize at regular intervals (controlled by your company toolbar administrators). There are times when you may want to manually synchronize, in order ...